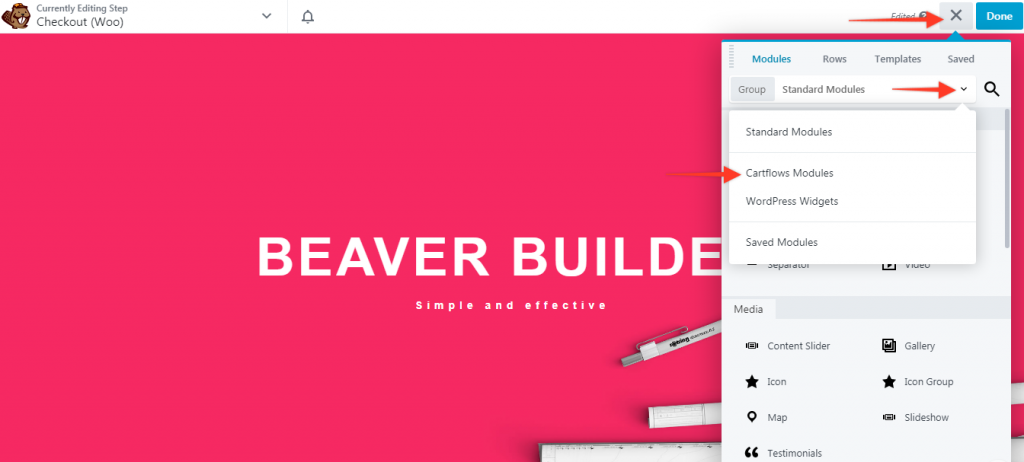
We are pleased to announce that we have successfully released Beaver Builder modules of CartFlows in the CartFlows 1.5.19 & CartFlows Pro’s 1.5.11 and above. These modules will provide more styling options for the shortcode and increase the flexibility to design the CartFlows pages.
These modules are being introduced by CartFlows and not the Beaver Builder to bring a whole new experience. For which we have divided them into two parts CartFlows free and the CartFlows Pro modules.
In the CartFlows, you will get modules for all the shortcodes that are available in the free as well as Pro version and they are as follows
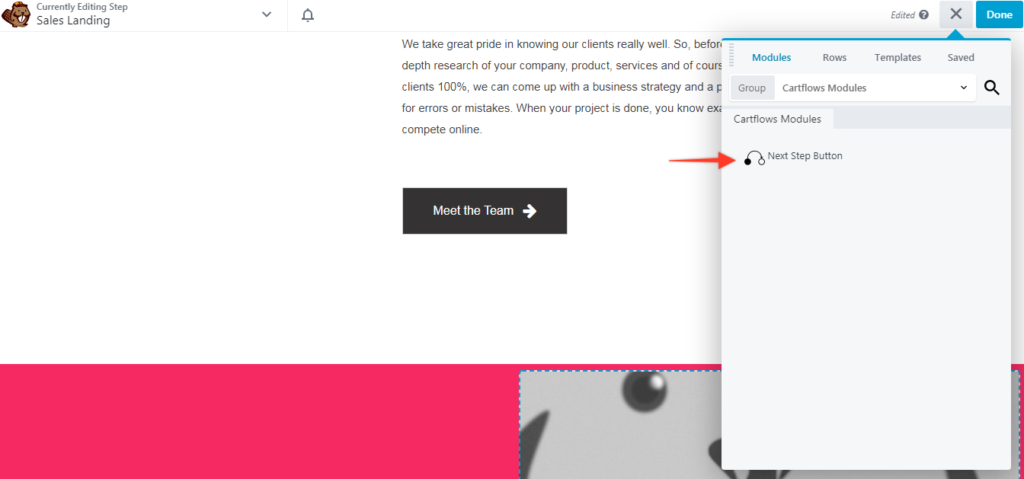
- Next Step Button/Link Module
- Optin Form module
- Checkout Form Module
- Upsell & Downsell Shortcodes including Product variations and offer accept & reject modules.
- Order Review Module ( Thank you page).
These modules will be found only on their respective pages. That means when you open/edit the landing page in the Beaver Builder editor then you will see the Next Step Button/Link module. Similarly for the rest of the steps/pages.
Let’s see, each module page/step wise and how it’s setting is managed.
Page 1: Landing page and it’s module
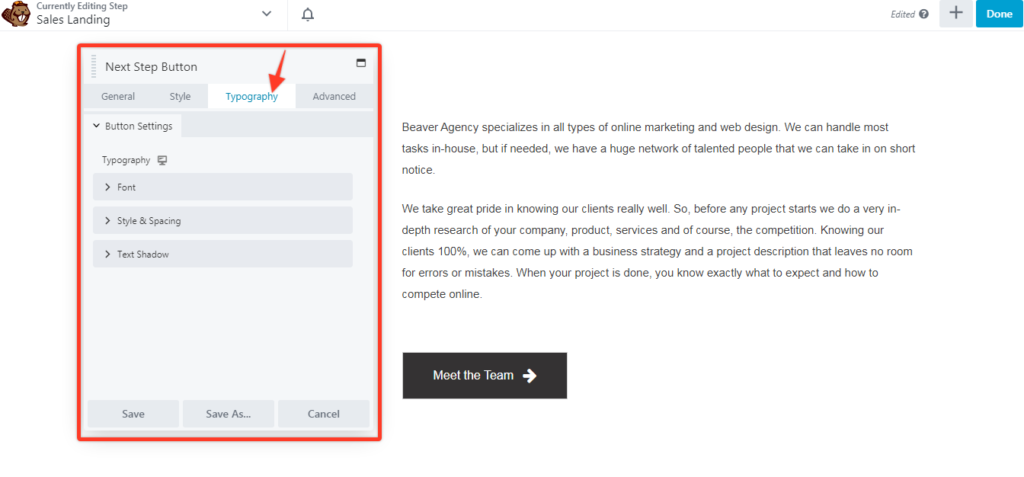
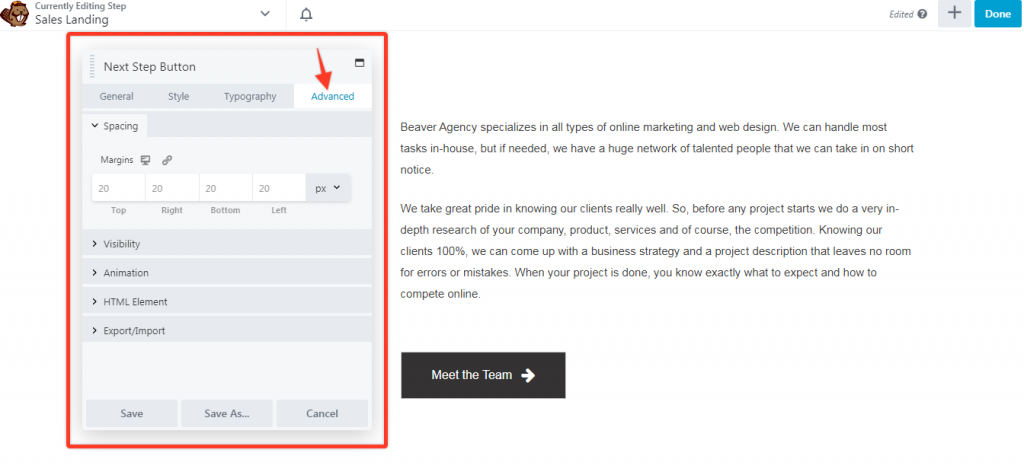
- This Page has one module and that is the Next Step Button Module.
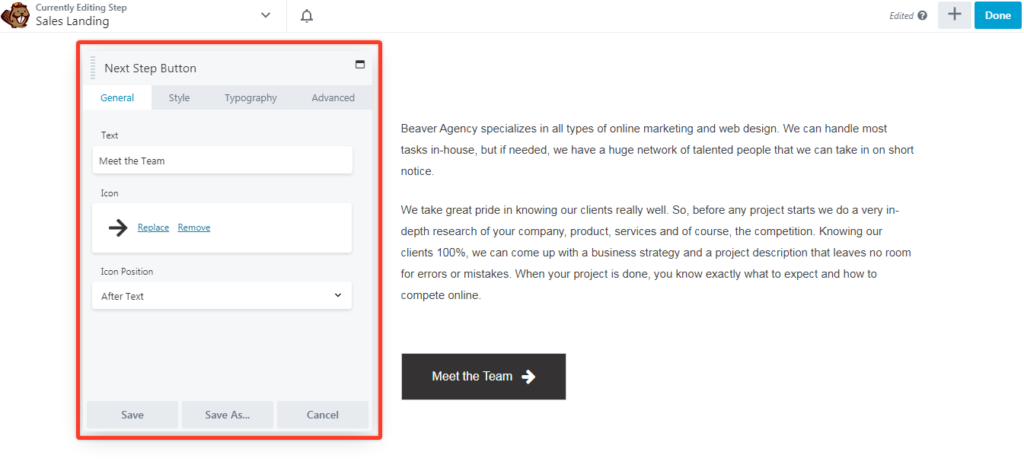
# Settings in General Tab: Here you will get the settings to change/add/update/delete the string on the next-step button and you can add an icon as well.
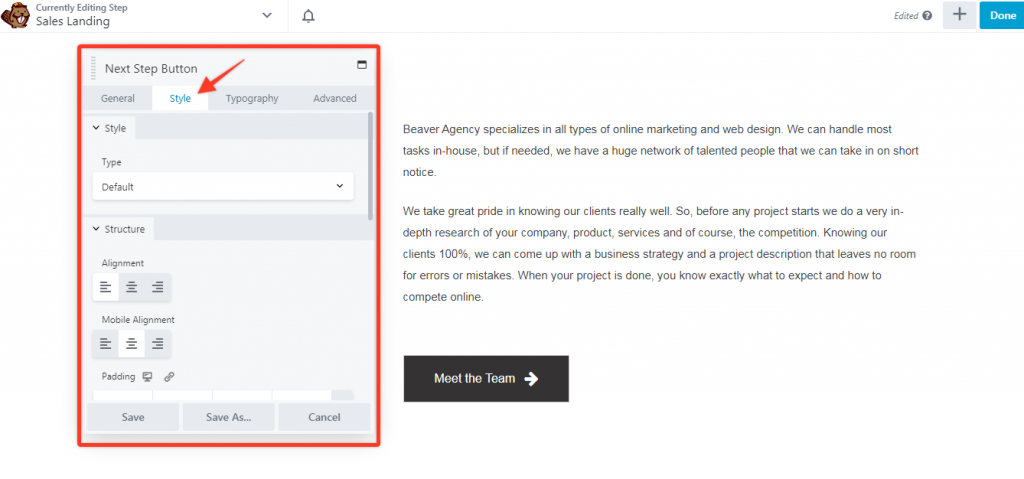
# Settings in Style Tab: There are two tabs one is General & Content in which you will get all the designing options to design the button/link.
#Settings in Typography Tab: In this section you will get all the Typography Options such as Font Size and Font Family etc.
#Settings in Advanced Tab: In this section you will get all the designing option of the section on which the model is displayed.
Page 2: Optin Page and it’s module
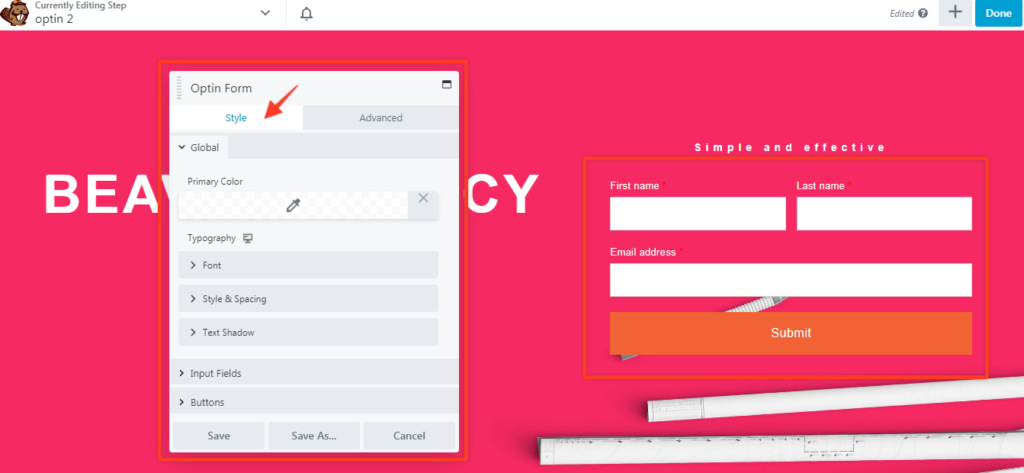
- This Page has one module and that is the Optin Form module.
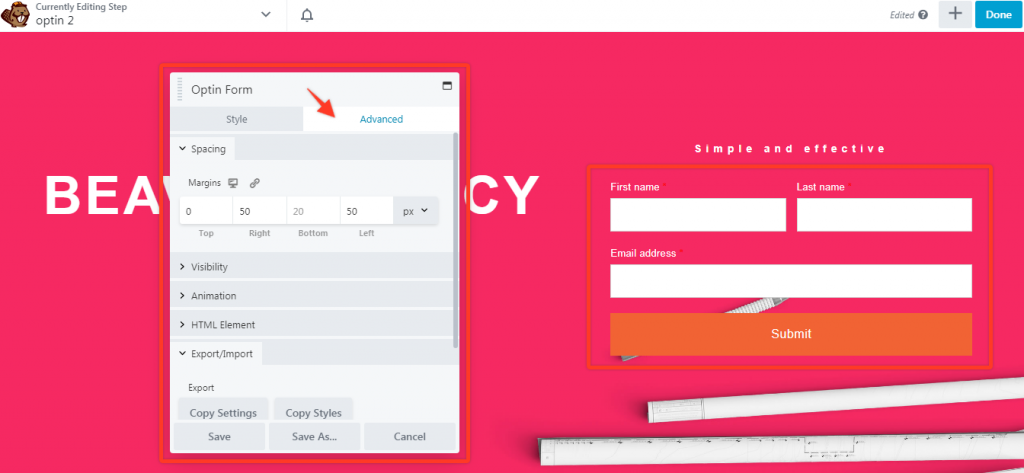
# Settings in Style Tab: In this section you will get the styling options for the form text, field texts and the button texts.
# Settings in Advanced Tab: In this section you will get all the designing option of the section on which the module is displayed.
Page 3: Checkout Page & it’s module
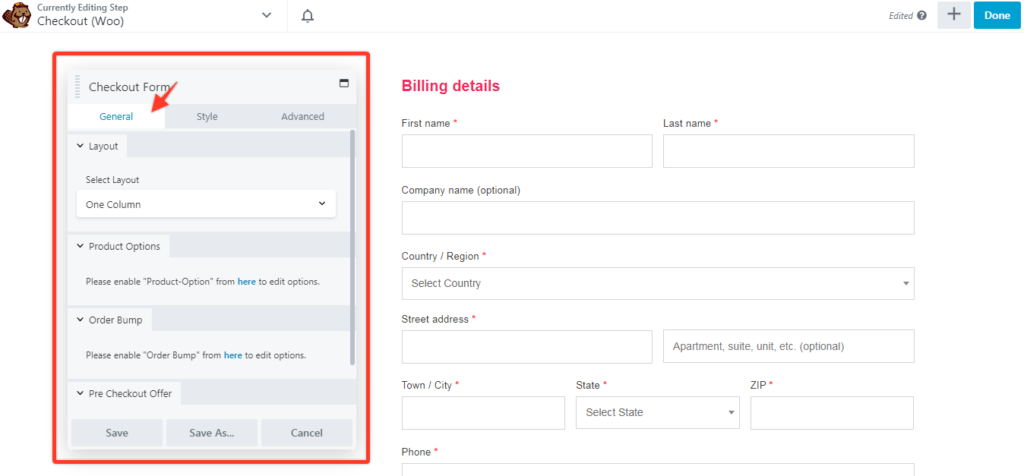
- This page also has one module and various design options for various features. Such as Bump Order, Precheck Offer etc.
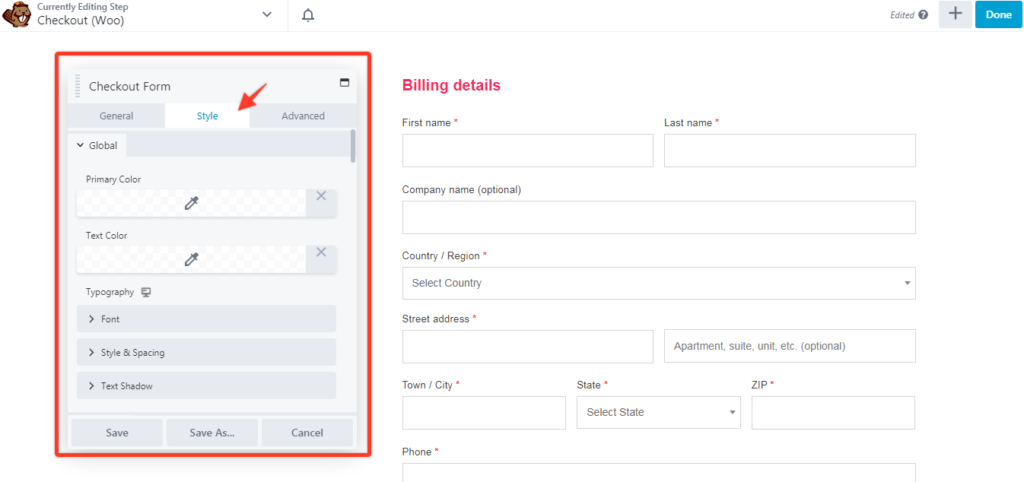
# Settings in General Tab: Here in this tab you will get the content setting for Billing & shipping Fields, Bump & pre checkout offer and product options as well as Checkout Layout Options.
# Settings in Style Tab: Here in this section, you can change the styling of the checkout page features including Heading, Input Fields, Buttons, Payment Section & Validation Error messages.
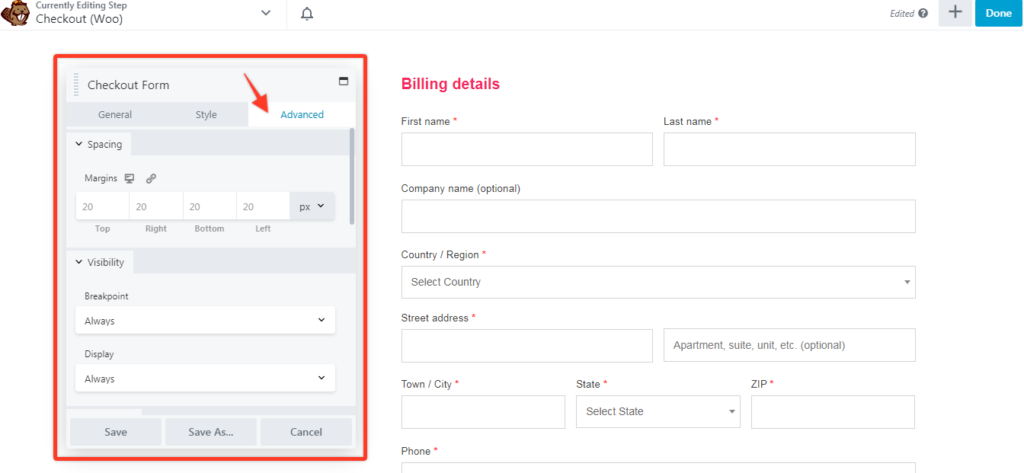
# Settings in Advanced Tab: In this section you will get all the designing options of the section on which the module is displayed.
Page 4 & 5: Upsell & Downsell pages
- As you all know, these pages support variation products as well. That means you can display and sell the variation products from the upsell & downsell pages.
- By default there are several shortcodes which are available in the backend setting of these pages similarly for the same, we have introduced a Beaver Builder module for it.
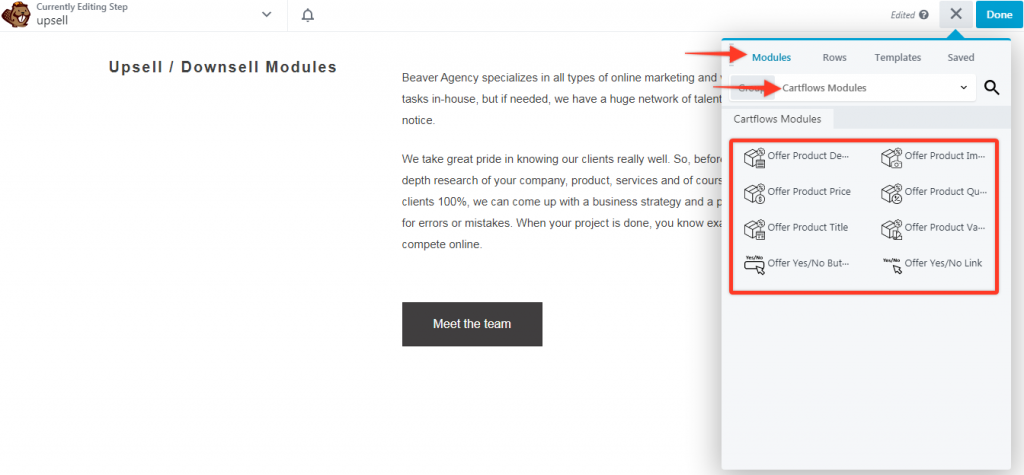
# Settings in Style Tab: There are separate styling options for each of the modules.These modules includes
- Offer Yes/No Button: To display the offer accept or reject button.
- Offer Yes/No Link: To display the offer accept or reject links.
- Offer Product Title: Displays the offer product title and dynamically displayed.
- Offer Product Price: Displays the offered product price and dynamically displayed.
- Offer Product Description: To display the product’s description and dynamically displayed.
- Offer Product variation : To display the variation of the product if it is available )
- Offer Product Quantity field : To give option to the user to select the quantity of offered product.
Page 6: Thank you age & it’s module
- Using this module you can design setting as well as you can enable/disable the sections which are displayed in the thank you page order review form
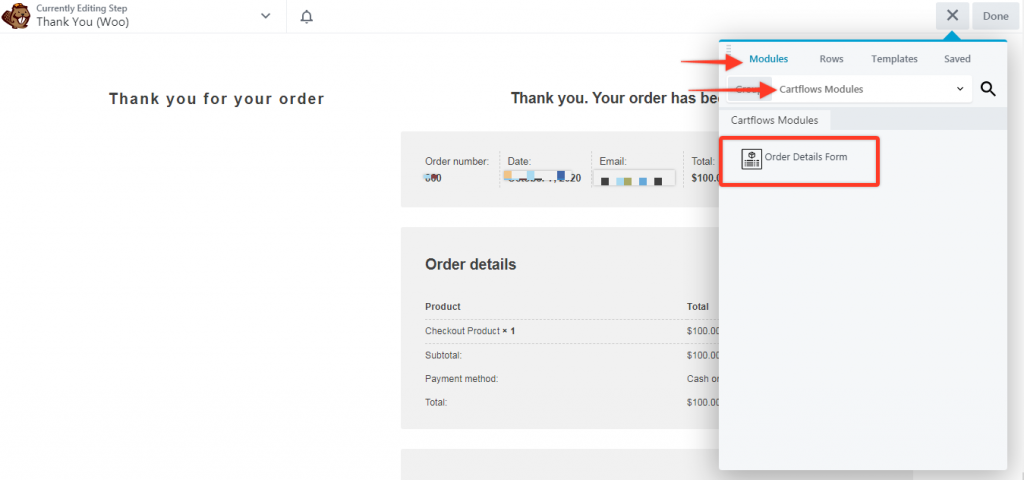
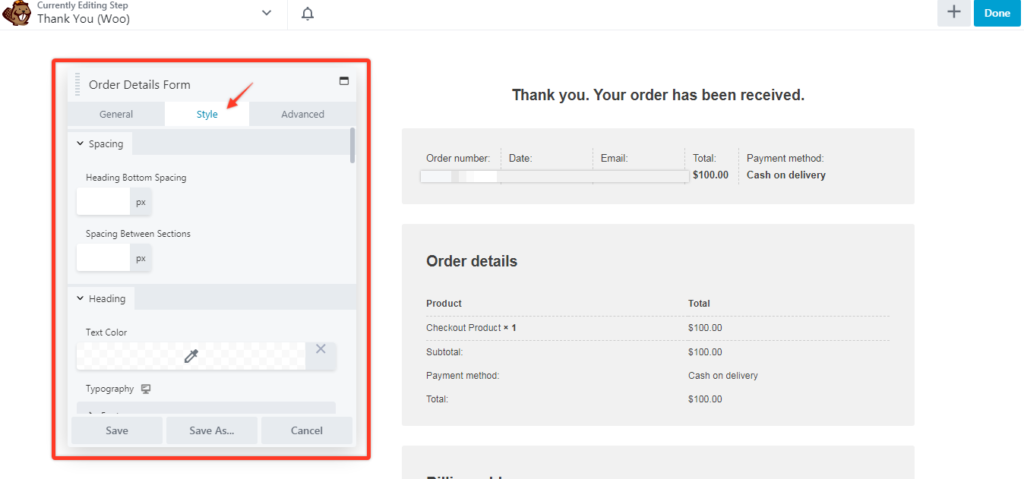
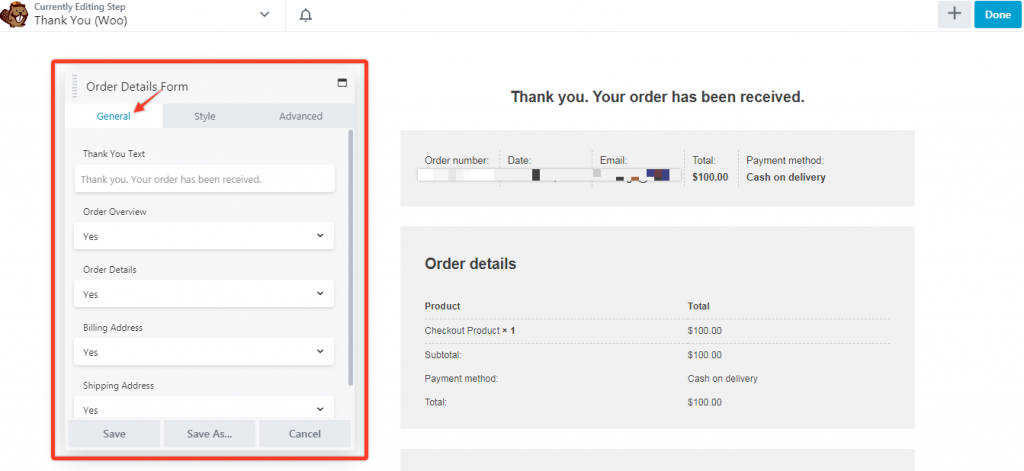
# Settings in the General Tab: From this tab you will be able to change the heading of the thank you shortcode as well as options to enable/disable the sections on the thank you page.
# Settings in the Style Tab: This tab has all the required styling options to change the look and feel as well as the overall appearance of the order review form.
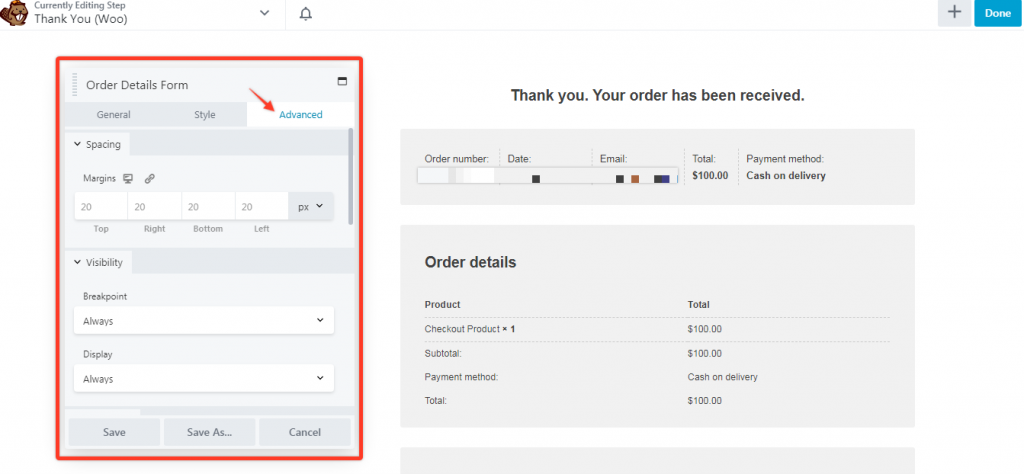
# Settings in Advanced Tab: In this section you will get all the designing options of the section on which the module is displayed.
All of the modules and settings are provided to provide more flexibility while designing the CartFlows pages and to avoid the confusion regarding which shortcode needs to be added and on which page has to be added.
If you are not using the Beaver Builder Page Builder, and want to use it in the default way i:e using the shortcode then this article will help you to understand the right places of the shortcodes.
Happy Designing!!
